Git Repository: https://github.com/ishandotsh/isaac-sim-starter
What to expect from this series
This is not an introduction to Isaac Sim. This series should be taken as one way you could set up a simulation environment for your robot. It can also act as a cheatsheet to copy useful snippets that could be tedious to write by hand (actiongraphs…). The reason I’m writing this article is because I wanted a post like this but couldn’t find one.
I recommend reading through the first 2 tutorials of the Isaac Sim Documentation to get a bearing.
P.S. I used ROS1 Noetic for this. I haven't used ROS2 yet so YMMV, but the basic principles of Isaac Sim will be the same.
Table of Contents
Overarching Flow
The way I’ve worked it out is first you need to have your robot in a format that’s compatible with Isaac Sim. URDFs add a bit of complexity to the flow, but it is the most common robot description format. If you have the option, convert your asset to USD or USDA. You don’t need to go out of your way to learn about USDs because they’re a core part of the tool. Still, here’s a well curated list of resources.
After the robot’s loaded into an environment, you can add sensors to it. Adding sensors is very easy. The API is pretty clear and concise and I’ll get into it in the upcoming sections.
Once the robot is actually ready, its time for it to do tasks. This bit is very case specific so I’ll lay out the foundations and you’ll have to work out the rest. I’ll be happy to add your use case to this post and credit you.
Setting up the standalone script
Base Script
If you're following with the git repo set it up as follows:
cd ~/.local/share/ov/pkg/isaac_sim-2023.1.1 # might be different for you
git clone https://github.com/ishandotsh/isaac-sim-starter.git
cd isaac-sim-starter
./setup.sh
code . # open in your editor
In subsequent parts, I'll introduce several utility functions that make the base script cumbersome to read. Its best to create a separate file for those, so I'd suggest following the structure of the repo, and placing it inside the Isaac Sim install directory.
If instead you'd like to work on the app from a different directory, copy the .vscode directory and modify the setup.sh script. This is purely for python intellisense purposes. Then in a new python file:
from omni.isaac.kit import SimulationApp

app_config = {
     "width": "1280",
     "height": "720",
     "headless": False,
     "renderer": "RayTracedLighting",
}
# other config params:
# https://docs.omniverse.nvidia.com/py/isaacsim/source/extensions/omni.isaac.kit/docs/index.html

app = SimulationApp(app_config)
Load an environment
This will only work if you've set up the Nucleus server. Make sure that's always running before executing the script or you'll wait around forever for the sim to load.
from omni.isaac.core.utils.nucleus import get_assets_root_path
from omni.isaac.core.utils.stage import add_reference_to_stage

from omni.isaac.core import World
world = World(stage_units_in_meters=1.0)

assets_root_path = get_assets_root_path()

def spawn_environment(world_type: str = "ground_plane"):
     if world_type == "ground_plane":
          world.scene.add_default_ground_plane()
     elif world_type == "warehouse":
          warehouse_asset_path = assets_root_path + "/Isaac/Environments/Simple_Warehouse/warehouse.usd"
          warehouse_prim = add_reference_to_stage(usd_path=warehouse_asset_path, prim_path="/World/Warehouse")
     elif world_type == "warehouse_shelves":
          warehouse_asset_path = assets_root_path + "/Isaac/Environments/Simple_Warehouse/warehouse_multiple_shelves.usd"
          warehouse_prim = add_reference_to_stage(usd_path=warehouse_asset_path, prim_path="/World/Warehouse")
     elif world_type == "warehouse_full":
          warehouse_asset_path = assets_root_path + "/Isaac/Environments/Simple_Warehouse/full_warehouse.usd"
          warehouse_prim = add_reference_to_stage(usd_path=warehouse_asset_path, prim_path="/World/Warehouse")

# ground_plane, warehouse, warehouse_shelves, warehouse_full
spawn_environment("ground_plane")

# Other environments:
# https://docs.omniverse.nvidia.com/isaacsim/latest/features/environment_setup/assets/usd_assets_environments.html
Physics and lighting
Try setting solver type to PGS if TGS is running slow. More information here:
# https://openusd.org/release/api/index.html
from pxr import Gf, PhysxSchema, Sdf, UsdLux, UsdPhysics, Usd, UsdGeom
import omni.kit.commands

stage = omni.usd.get_context().get_stage()

# Physics
scene = UsdPhysics.Scene.Define(stage, Sdf.Path("/physicsScene"))
scene.CreateGravityDirectionAttr().Set(Gf.Vec3f(0.0, 0.0, -1.0))
scene.CreateGravityMagnitudeAttr().Set(9.81)
PhysxSchema.PhysxSceneAPI.Apply(stage.GetPrimAtPath("/physicsScene"))
physxSceneAPI = PhysxSchema.PhysxSceneAPI.Get(stage, "/physicsScene")
physxSceneAPI.CreateEnableCCDAttr(True)
physxSceneAPI.CreateEnableStabilizationAttr(True)
physxSceneAPI.CreateEnableGPUDynamicsAttr(False)
physxSceneAPI.CreateBroadphaseTypeAttr("MBP")
physxSceneAPI.CreateSolverTypeAttr("TGS") # or PGS

# Lighting
distantLight = UsdLux.DistantLight.Define(stage, Sdf.Path("/DistantLight"))
distantLight.CreateIntensityAttr(500)
End of base script
# This part will always be at the end, all code from
# the next steps should be above this bit

from omni.isaac.core import SimulationContext
simulation_context = SimulationContext()
simulation_context.play()

while app.is_running():
    try:
        simulation_context.step(render=True)

    except KeyboardInterrupt:
        break

simulation_context.stop()
app.close()
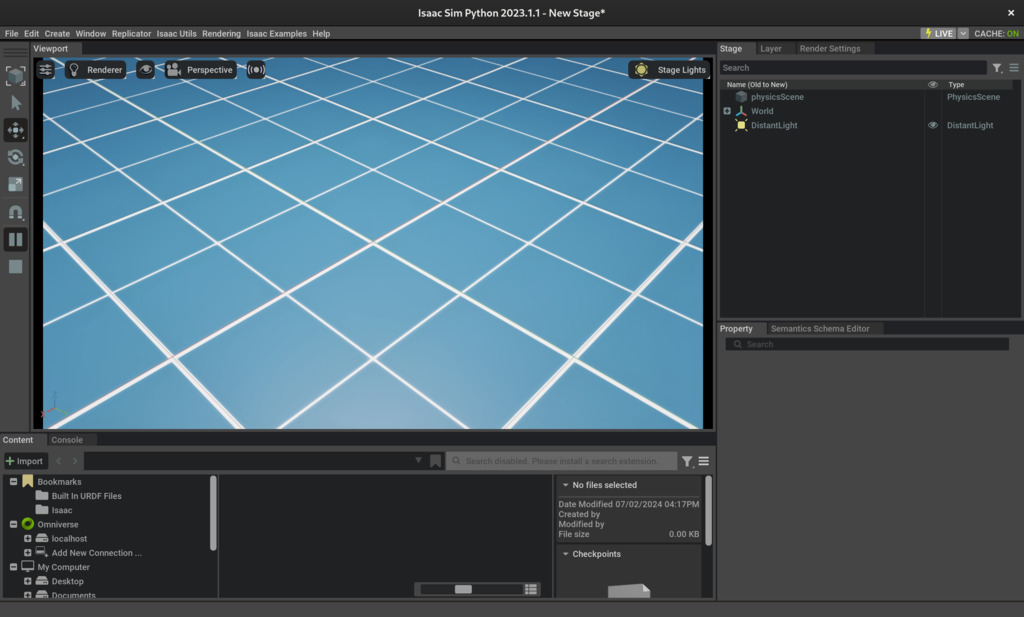
Run the base script
cd ~/.local/share/ov/pkg/isaac_sim-2023.1.1  # might be different for you
./python.sh ./isaac-sim-starter/isaac.py # or wherever you stored it
This should launch Isaac Sim and stay open until you ctrl-c in the terminal.